
One of my least favorite parts of the upstairs was definitely the doors. The wood screamed 'orange' (not one of my favorite colors) and there were just a lot of them in such a small space. Five doors to be exact- in about a 4 x 10 area. It was clearly just too much going on.


When I first moved in, I had an idea of painting them and maybe doing some sort of geometric stencil- at least on the sliding closet doors. However, the more I thought about it the more I realized that I would probably get sick of a bunch of pattern in a really small space and probably get sick of the pattern in general. And I really don't feel like repainting anything if I get tired of it. Let's stick with the classic approach shall we?

One of the features of our 1920s home that I love is the detail of the trim and doors throughout our first floor. When you make the trek up the stairs- all detail goes out the window and you're left with a 1980s renovation (you'll see the wood paneling once I show you where the nursery is going) and some cheap and hallow composite doors. I thought adding some sort of architectural detail to the doors would be a classic touch- one that I probably would not get sick of- and reflect at least some of the same style downstairs.
The problem was- I didn't want to replace perfectly working doors, I wanted to do it as inexpensively as possible, and I needed something thin and light that wouldn't prevent my sliding closet doors from hitting each other and well… sliding. We went back and forth for a while thinking of a solution. I didn't want to paint a faux detail because that could potentially make our cheap doors look cheaper (that would have been my last resort). However- looking at trim pieces at the hardware store proved to be more than what we were willing to spend, too thick for our appliaction... and more work. (We've got to get these done so we can move on to the nursery, folks!)


Real life dudes.... my closet isn't always pretty.
Solution: Balsa Wood! You know- the wood people use for model cars and airplanes- or doll houses? We ordered two packs of twenty 1/16" x 3" x 36" pieces off of Amazon. With Prime they were here within two days and we got to work that night.

This was definitely an experiment as I have never seen anyone use this for our intended purpose. (Yes- for once I wasn't inspired by another blog. Original idea everyone. Chalk one up for me!). It seemed like it would work well and we figured we wouldn't be losing much if it went awry. So we began.

I lay out the pieces a few different ways but opted for the "simple is better" approach. If I wanted to add a cross section eventually, it wouldn't be a problem to do so.
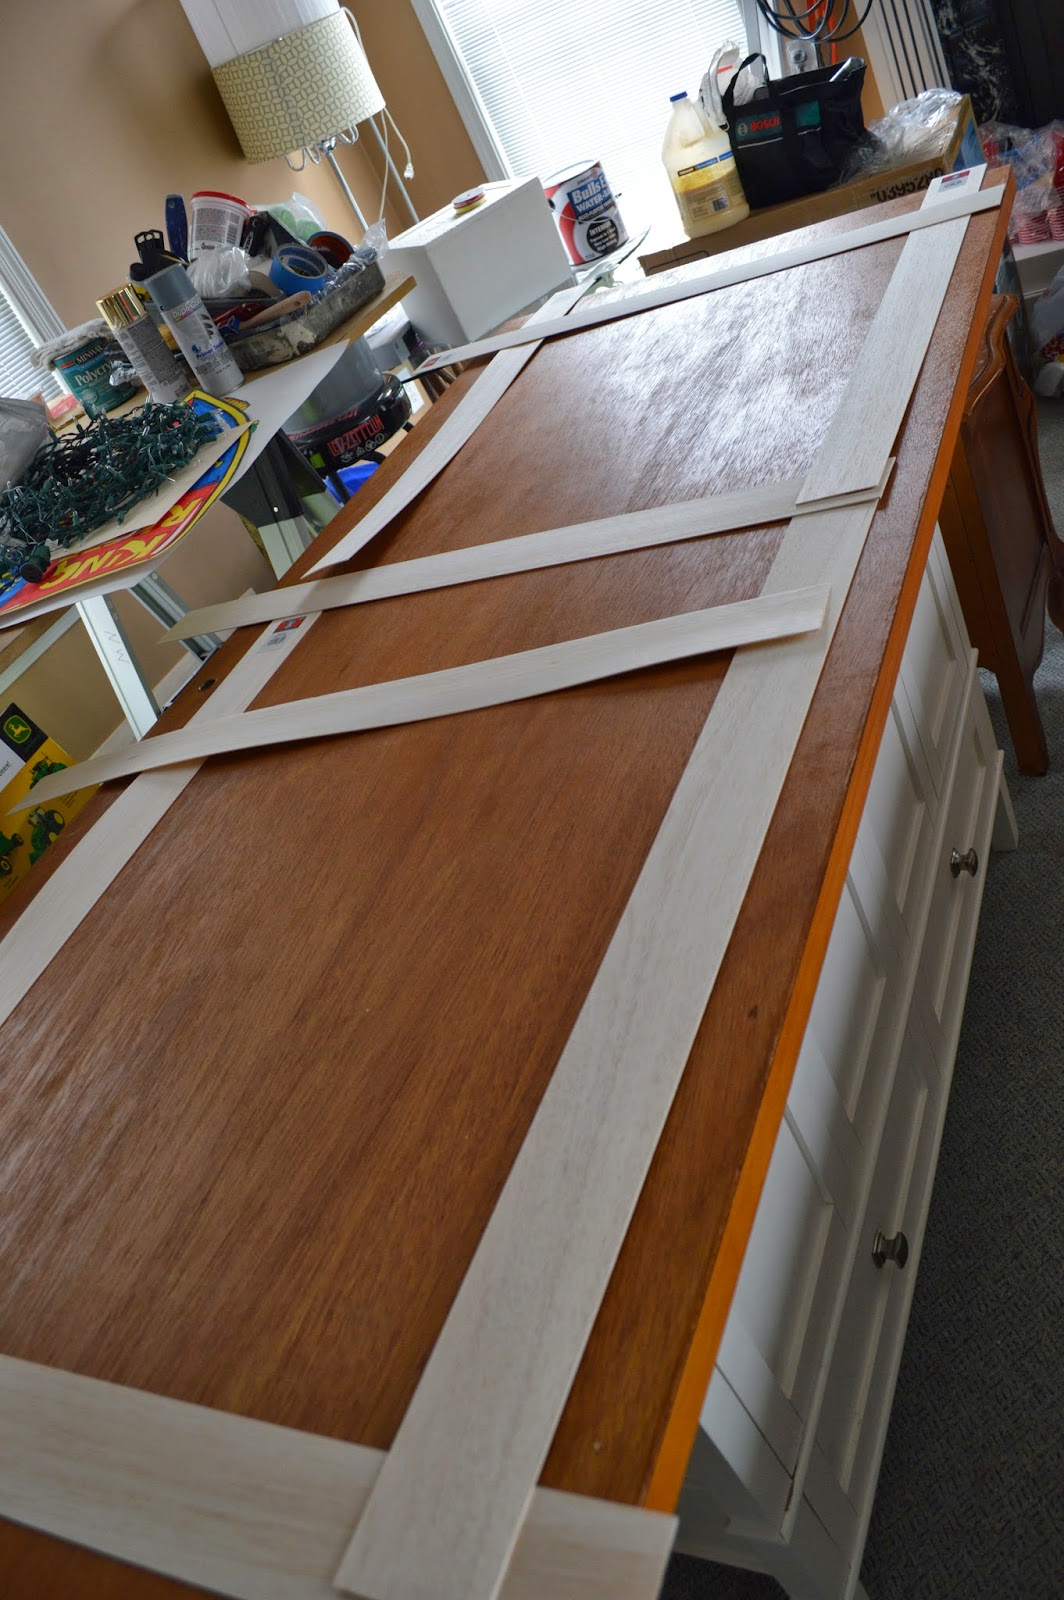


I first measured in from the outer edge to plan where the pieces would go with a straight edge. I learned from my high school art teacher when cutting art matts that you always want to leave more clearance room at the bottom than the top- you need some visual weight and it will actually keep it looking more balanced and not top heavy. I applied this same principle when adding the detail to the doors- I added at least an inch more to the bottom than the top. Hopefully the picture below illustrates what the heck I'm talking about. Are you confused yet?

Marking the measurements...


Once we got the measurements marked, we applied wood glue to the first piece and applied it to the door- making sure to check that everything was straight with the speed square (Best tool ever for this application).

Once it was set, we used our nail gun to secure.


We quickly realized the nail gun wasn't the best solution. The balsa wood is so thin (1/16 of an inch!) that the nails just shot straight through and it actually broke off a few pieces of an end. See below.....

We still needed something to secure it since the wood glue wasn't going to be strong enough on its own, so we decided to just switch out the nails for a staple gun and lower the pressure. We ripped off our failed first piece (face palm) and went for the staples- It worked much better. More spackling was required, but it was the clearly the direction we needed to head.

The balsa wood is so easy to cut- we just used a blade up against a straight edge to get our pieces to fit just right. You can even snap the wood in half- it's that light.

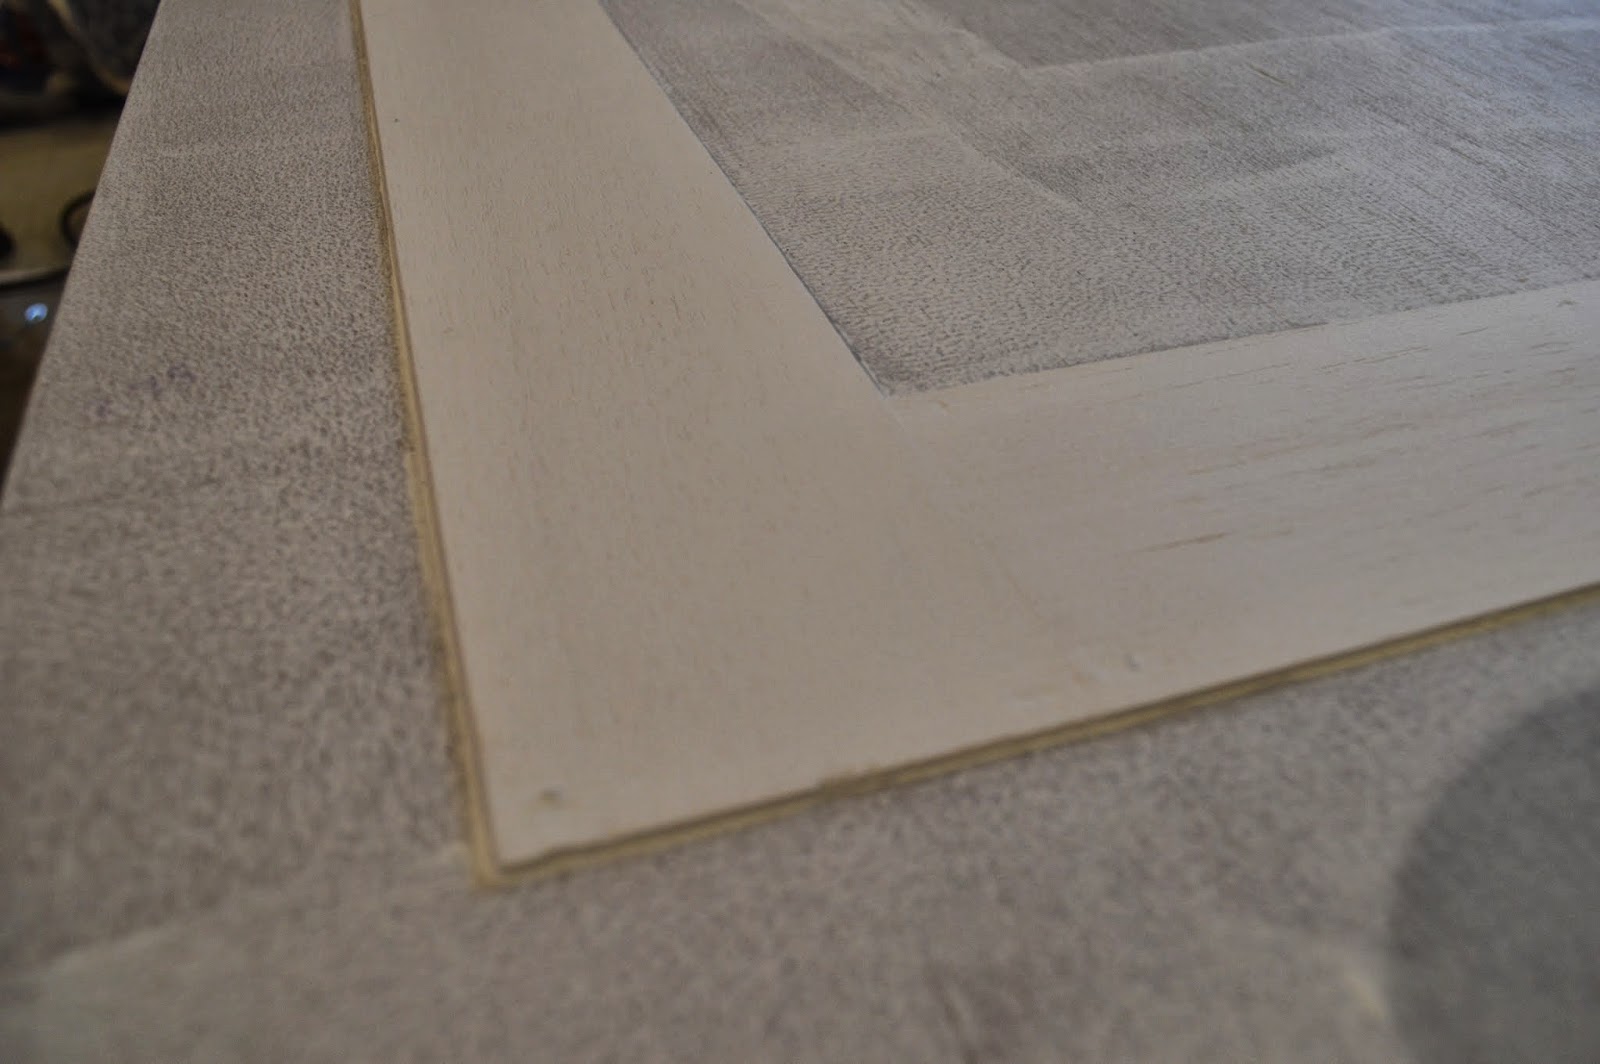
Once we got the pieces set we spackled and lightly sanded... followed by a damp wipe down to clear off any dust.


We then applied primer using a small roller and paint brush.


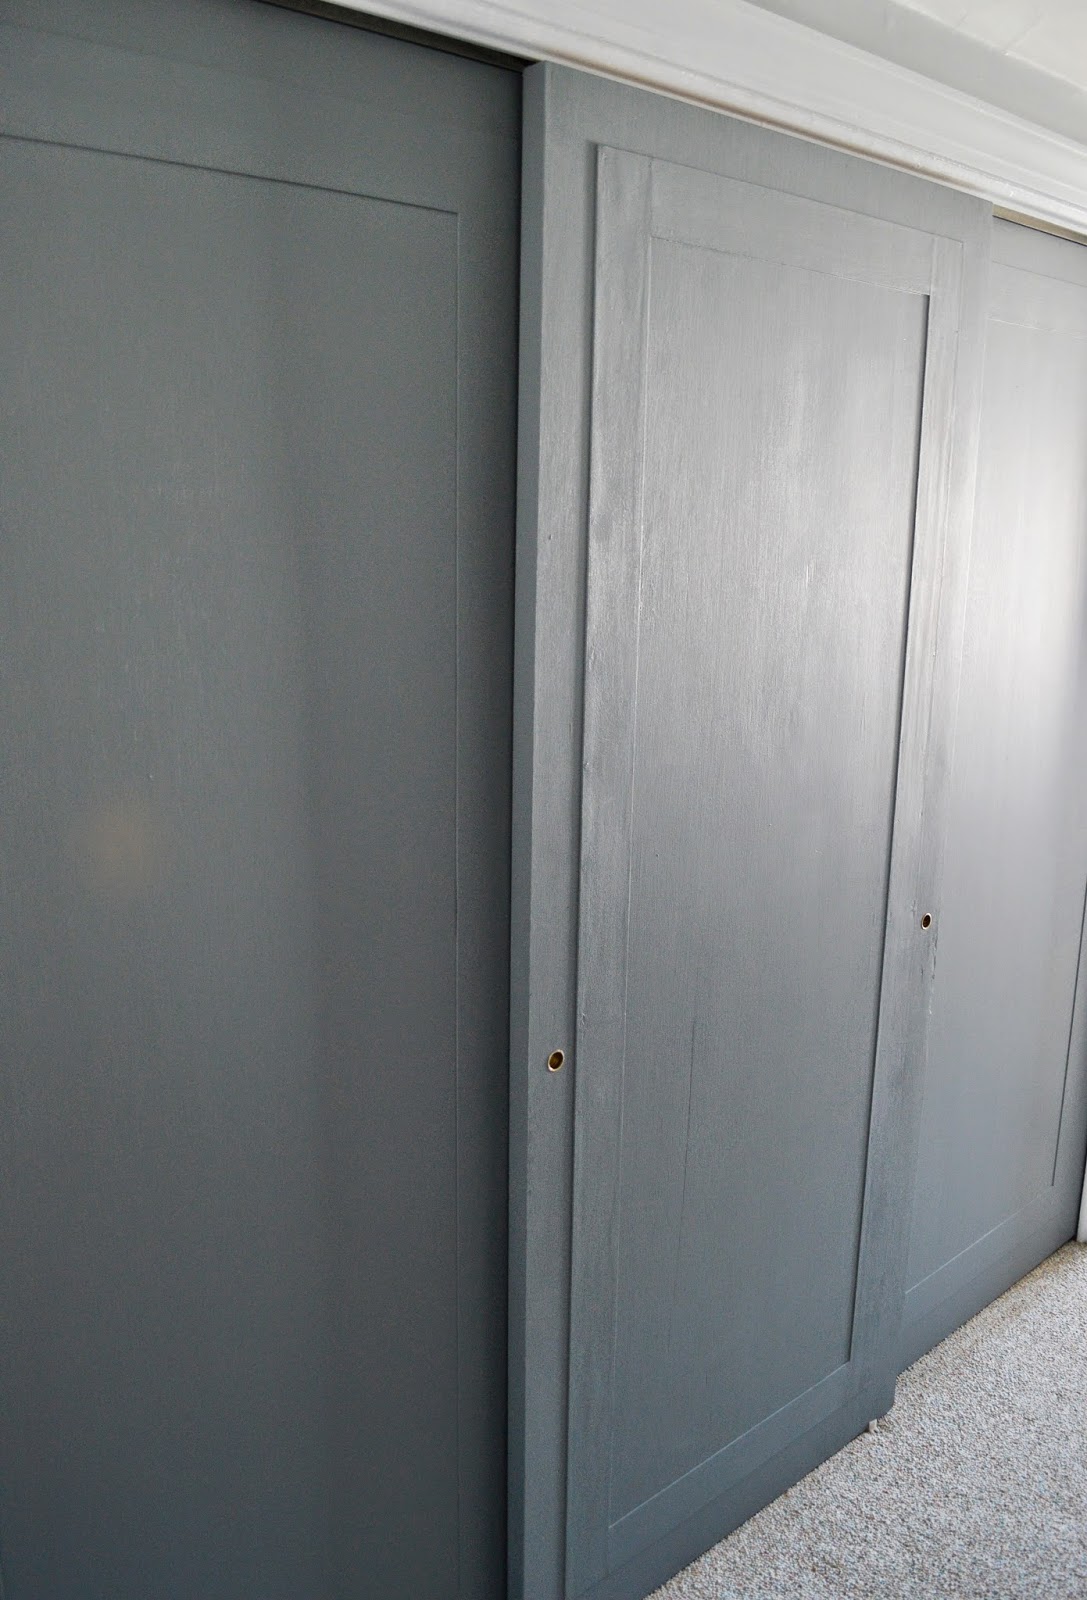
An hour later we applied one coat of "City Storm" by Valspar - just a few shades darker than our bedroom wall color "Bay Waves" on the paint chip (simplest way to make sure your coordinating colors are in the same hue).


Once dried, we put those doors back on their tracks and they were good to go!


It's such a huge difference!

 It's not a drastic change, but adding the small detail on the door gives them a bit more substance and interest- and they no longer scream "I'm hallow and cheap… and orange!". I think the hardest part of this project was just making sure the pieces were even and straight- but it was actually very easy and went by pretty quickly. I was concerned about the uber thin material at first, but once we primed and painted, it is pretty much indestructible.


It's such a huge difference!
The detail is subtle, but I'm loving the effect it has!
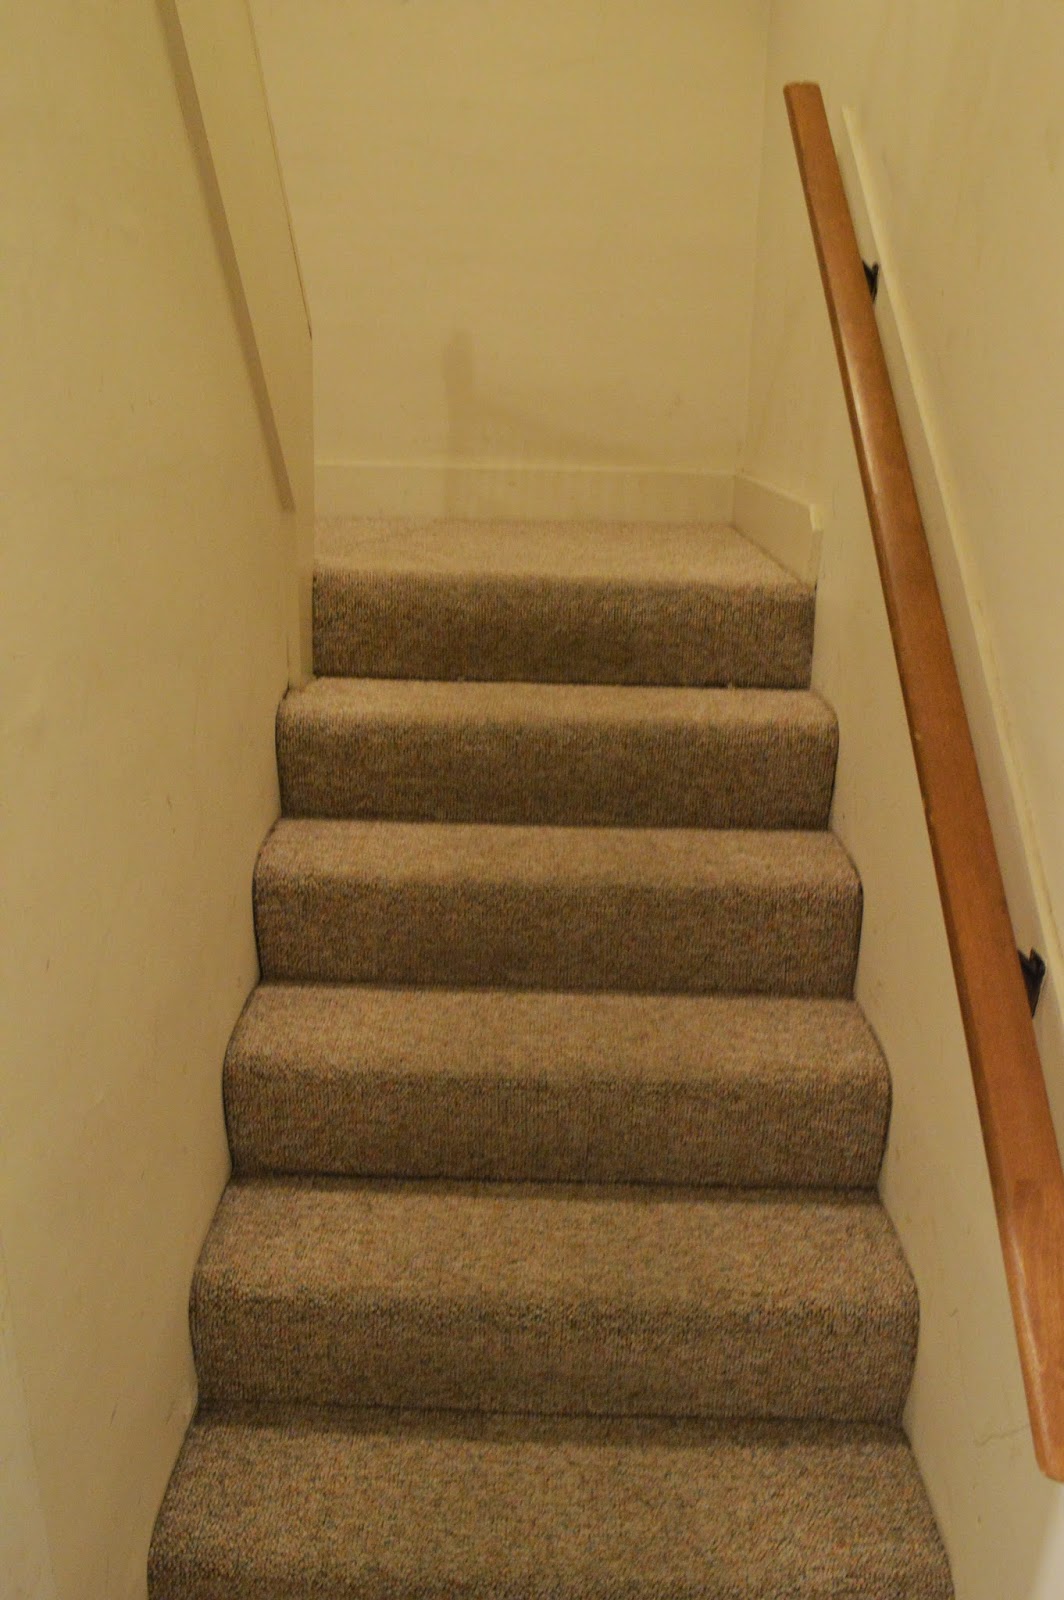
Sometimes just a coat of paint on the doors and walls can even make our "ugly" carpet look pretty good- and neutral- if you ask me!
Adios orange and brown EVERYTHING... now this railing situation is going to really bug me until we find a solution... and time.
I'm pretty happy with the result especially since we didn't pay an arm and a leg for the material. But I'm mostly just proud we found a great solution ourselves by putting on our thinking caps and thinking outside the box (Wow- I sound like a first grade teacher… or a soon to be mom?). It really is very rewarding finding a use for a material that is not for its intended purpose. Gotta love the DIY life.
Now how many times did I say "door" in this post? There just isn't another synonymn for it!
OK- so the next post will FINALLY be a nursery post. It's officially primed and painted- we just need to touch things up. My entire body was sore this Monday morning after a marathon painting session this past weekend, but it was so worth it. Will be sharing soon!
-Tricia
OK- so the next post will FINALLY be a nursery post. It's officially primed and painted- we just need to touch things up. My entire body was sore this Monday morning after a marathon painting session this past weekend, but it was so worth it. Will be sharing soon!
-Tricia


